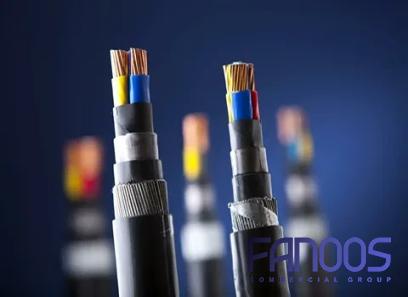
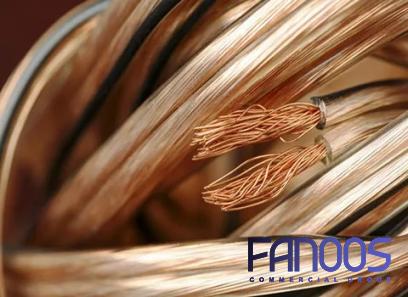
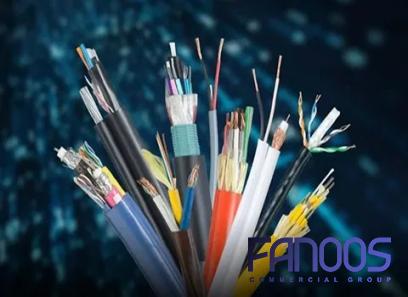
Soldering copper wire is a fundamental skill that plays a crucial role in various industries, including electrical engineering, electronics manufacturing, and plumbing. The process of joining copper wires together using solder creates durable and reliable connections. In this article, we will provide a step-by-step guide to help businesses master the art of soldering copper wire, ensuring efficient and high-quality results. 1. Understanding the Basics of Soldering: Soldering involves melting a metal alloy known as solder to create a secure joint between two or more copper wires. Before starting the soldering process, it is crucial to choose the right solder alloy, taking into account the application requirements and compatibility with copper. Common solder alloys used for copper wire soldering include lead-free solders such as tin-silver-copper and tin-copper.

.
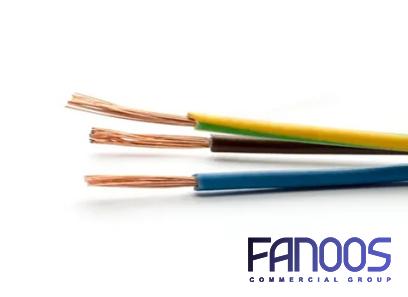
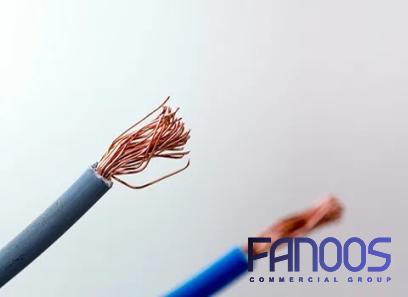
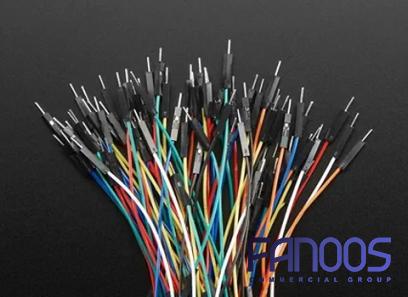
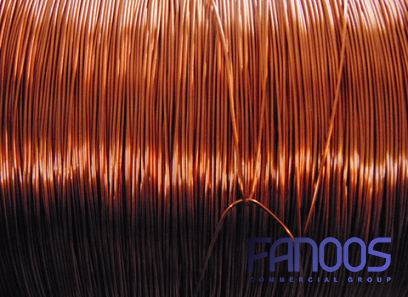 2. Equipments and Safety Measures: To achieve effective soldering, businesses need to invest in essential equipment. This includes a soldering iron or soldering station with adjustable temperature settings, flux, solder wire, soldering stands, and various hand tools such as wire strippers, cutters, and pliers. It is essential to ensure that the workspace is well-ventilated and to wear safety goggles and heat-resistant gloves to protect against potential hazards. 3. Preparing Copper Wires: Proper preparation of copper wires is crucial for successful soldering. Begin by removing insulation or outer coatings from the ends of the wires using wire strippers, being careful not to damage the copper strands. Clean the exposed copper surfaces using fine-grit sandpaper or a wire brush to remove any oxidation or dirt, ensuring a clean and shiny surface for optimal solder flow. 4. Applying Flux: Flux plays a vital role in preparing the copper wires for soldering. It helps remove oxidation and contamination, improves solder flow, and ensures a strong connection.
..
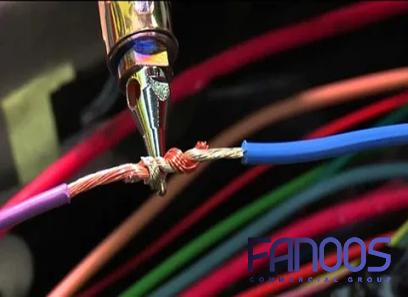
 Apply a thin layer of flux on the exposed copper surface using a flux pen or brush. Be mindful not to over-apply, as excessive flux can cause soldering issues and require additional cleaning. 5. Soldering Techniques: Set the soldering iron to an appropriate temperature based on the solder alloy being used. As the iron heats up, gently touch the solder wire to the hot iron’s tip until it melts and forms a small blob. Touch the blob of molten solder to the joint, allowing it to flow around the wires but avoiding excessive solder. Maintain the heat until the solder solidifies into a smooth and shiny finish. 6. Inspecting and Testing the Solder Joint: After soldering, it is important to inspect the joint for any signs of improper soldering, such as cold solder joints, excess solder, or bridging. Use a magnifying glass or a microscope if required. Once satisfied with the soldering quality, test the joint’s reliability using appropriate electrical or mechanical tests, depending on the application.
…
 7. Post-Soldering Cleaning: After soldering, clean the area around the joint using isopropyl alcohol and a lint-free cloth to remove any soldering flux residue. This step is crucial, especially if using flux with corrosive properties, as it helps prevent long-term damage to the solder joint. Conclusion: Mastering the art of soldering copper wire is essential for businesses in various industries. By following the steps outlined in this comprehensive guide, businesses can ensure reliable connections, reduce the risk of failures, and deliver high-quality products and services. Remember, practice makes perfect, so invest time and effort into honing your soldering skills, and reap the benefits of efficient and durable copper wire connections.

Your comment submitted.